I totally get it, it can be pretty overwhelming creating your own brand, especially if you’re not a designer. I’m working on my own rebrand and new website and finding it hard! It’s always easier working with my amazing clients than doing anything for myself – haha I’m sure you can relate with your own clients!
It can be challenging knowing where to start, how to bring your vision to life, or what those first few steps are that you need to take to get the ball rolling.
Do I create my logo first?
What if I don’t know what colours I like?
Who is my audience?
Since this month is all about brand identity design secrets, I’m breaking down those illusive starting steps, and making it easy for you!
I’m also sharing some super handy freebies that are going to help you along this process! Keep reading so you don’t miss those! 😉
First, figure out if this is even something you want to do yourself. There’s no point of putting yourself through any frustration if it actually might be worthwhile to outsource your branding. For example, I have a client that was a graphic designer, but she realized in the transition of her business, it wasn’t worth her time to create her own brand and website.
That said, if you do want to DIY it, and want a little help, make sure you’re on my waitlist for Blissfully Branded, because I’m going to be opening enrollment in December (and it’s gotten a serious upgrade!).
If creating your brand is something you’re excited to do though – keep reading!
1 – Get clear on who you are
First things first, make sure you know who you are, who your audience is, and who your competitors are! It’s so important to make sure you’ve established a solid foundation before you start playing with colours, images, or any part of your visual identity.
You want to know who you are as a business, what your core values are, and also what kind of look and feel you’re drawn to.
It’s also super important to not only know who are, but who your ideal clients/customers are! And I have a super handy freebie to help you create your own brand persona, be sure to check it out!
2 – Have some fun on Pinterest
We all love Pinterest, and it’s an awesome tool to use as you create your visual identity. I use it for every client project. I have my client create a board where they pin all kinds of images of what they’re envisioning for their brand. From there, I use those images in addition to others I’ve found to create their mood board!
This mood board serves as a foundational element that I use to pull colours, fonts, and the style of their brand and website!
Want some guidance on how to create your own mood board on Pinterest? You’re in luck! I have a free guide for you here!

3 – Create a plan/outline
My third tip on how to get started with your visual identity is to create a plan. I love a good plan, checklist, outline – they are SO handy! Especially with larger projects like a full brand or website, it helps to see all the moving parts together and broken down into smaller, more manageable steps.
You want to make sure you’ve outlined what parts of your visual identity you need, which you need to be working on and in what order, and which ones are most important. For example, you don’t need every touch point, and maybe you need to get started on your website first, and those fun postcards can come later.
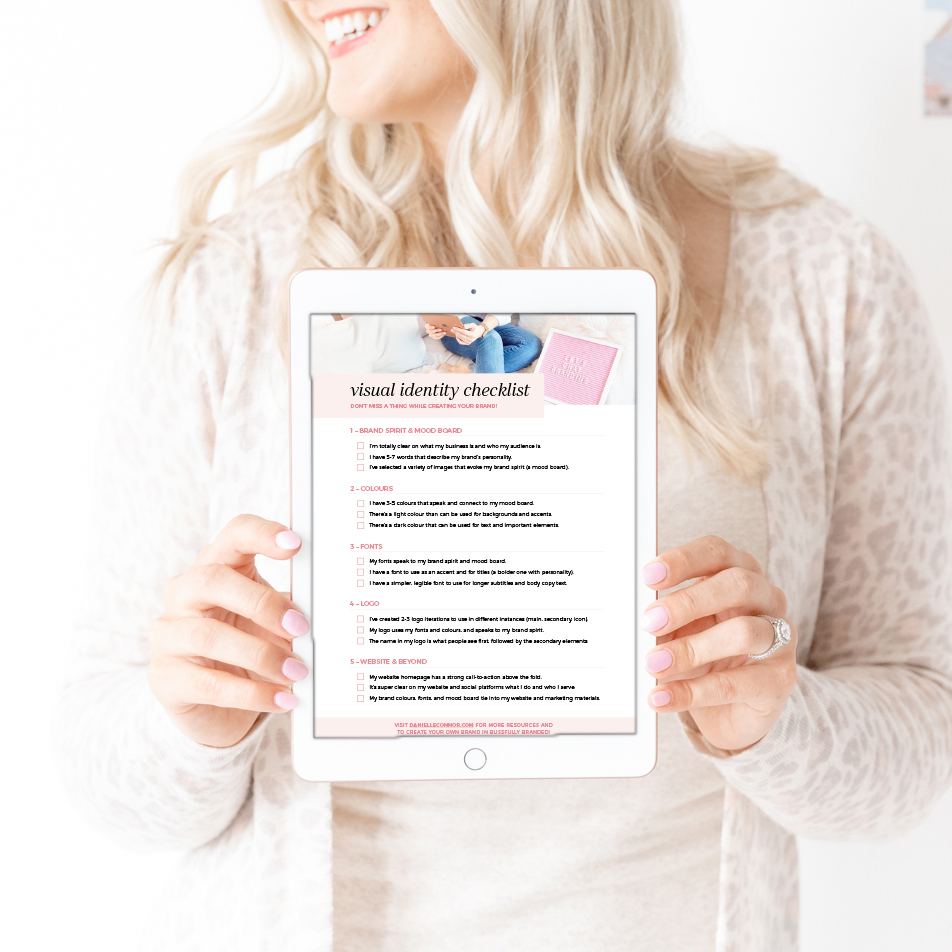
I created a BRAND NEW and FREE resource for you, just to help you out with your visual identity plan! Wahoo! How exciting?!
Sign up below to get your very own visual identity checklist!
This checklist will walk you through all the different elements of your visual identity, and what you need in each one!

Have so much fun creating your own visual identity! Be sure to tag me on Instagram when you share your brand, I’d love to see it! 🙂
And if you’d love some help throughout your branding process, make sure to get yourself on the waitlist for my course Blissfully Branded! I’ll show you how to get started, walk you through creating your brand and help set you up for success!
XO
Danielle
