
It’s crazy to think that we’ve already been in our apartment for over two years! In the last few months, I’ve really been trying to finish all those last decorative touches that have been sitting on my to-do list for ages. We have quite a few bare walls that need some love, so I wanted to create a few pieces of DIY artwork!
I’ve always loved creating art, and have made everything from watercolours, to pastels, to collages, to linocut prints. So I figured – why not create my own piece now for our apartment?! That way it’s exactly what I want, and it has that extra personal touch.
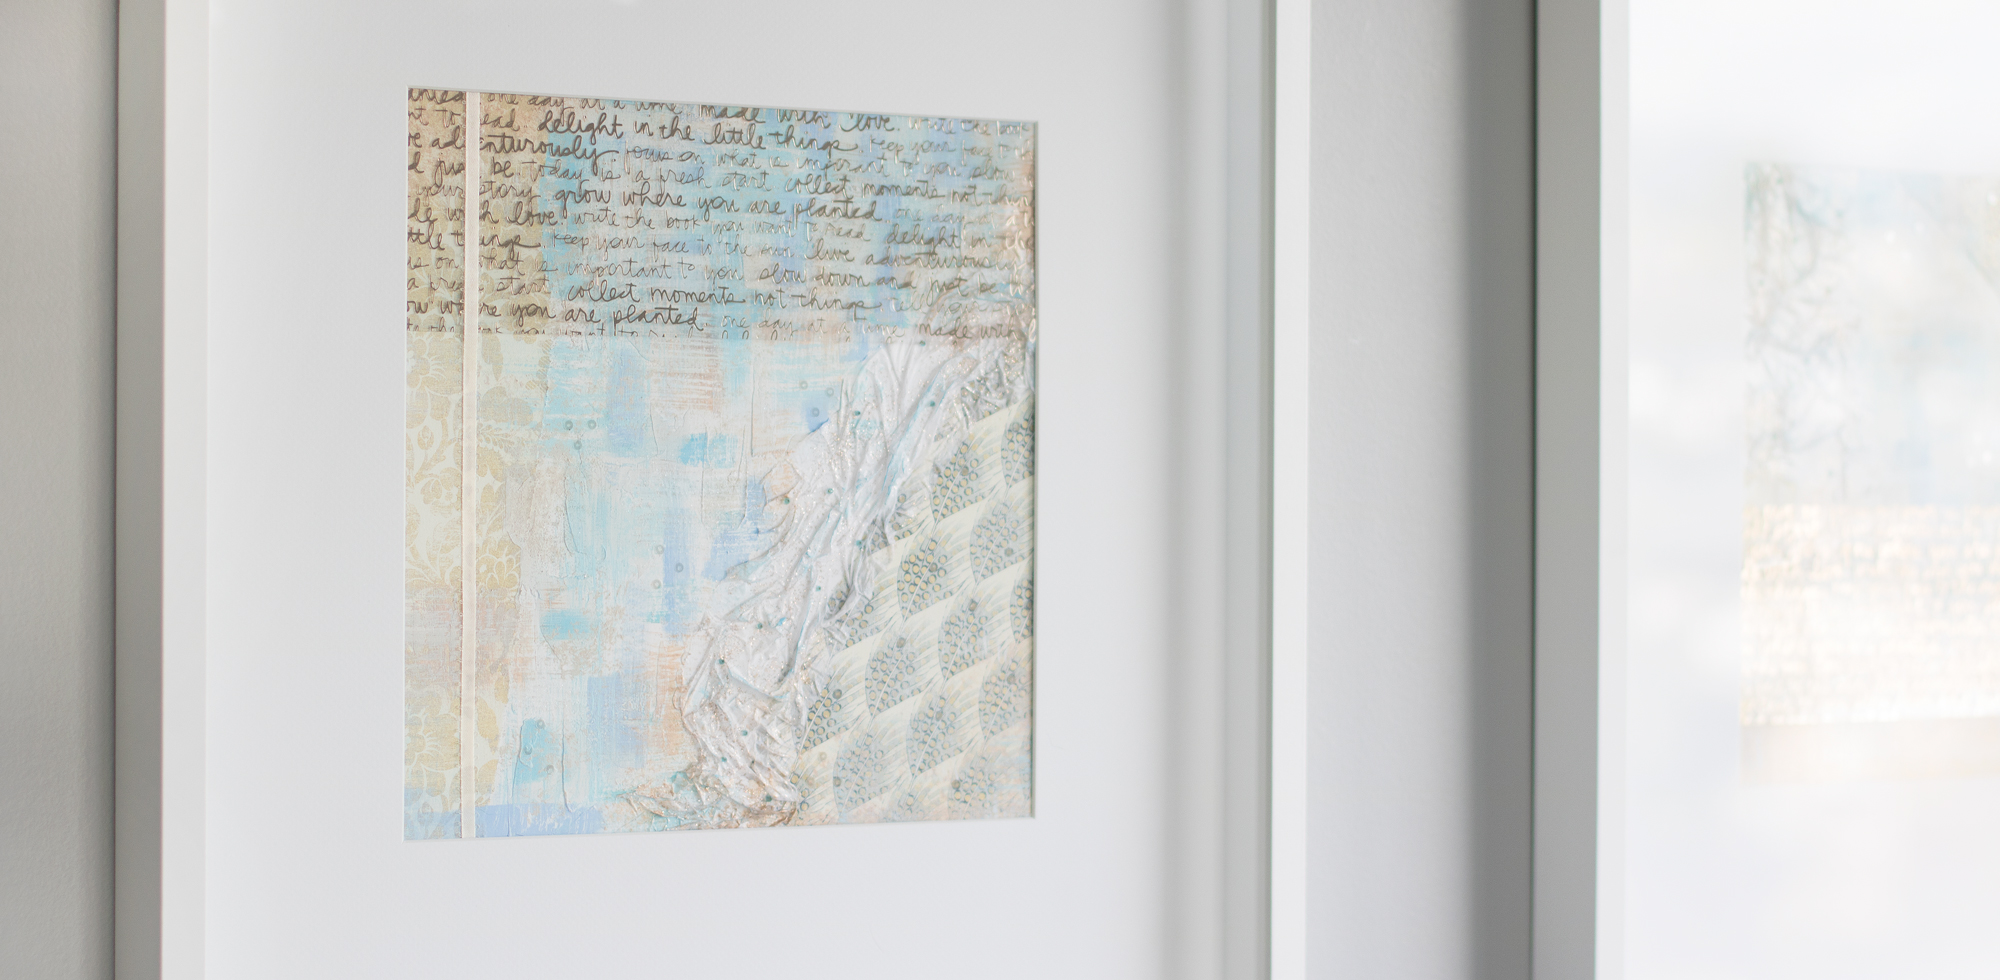
Behind our dining table, we have this large wall that has always felt so empty. It gets lots of light, and since we spend so much time in our kitchen/dining/living room, it seemed like the perfect project to start with!
Now don’t get me wrong, a lovely new print or custom piece of artwork is beautiful for your home, and I’m all about supporting artists! But sometimes it’s fun to create something yourself 🙂 It makes it that much more special, and you can really customize the piece to be exactly what you’re looking for!
But if you’re not the creative type, or just don’t have the time – I totally get it! That said, it’s pretty relaxing and fun to create your own DIY artwork. And not to mention actually super easy – you honestly can’t go wrong, trust me!

The types of artwork that I enjoy the most (and are most forgiving haha!) are collage-style pieces and simple water-colours. In this blog though, I’m going to walk you through how to create your own collage with a few simple materials you can find at Michaels, or any other craft store. I’m still working on the watercolours for my bedroom – so stay tuned for another DIY post on those!
Materials Needed:
- Paper, Canvas, or Cardstock – Anything on which to create your artwork – again, super forgiving! Bur err on the side of a thicker material that can support the weight of a collage.
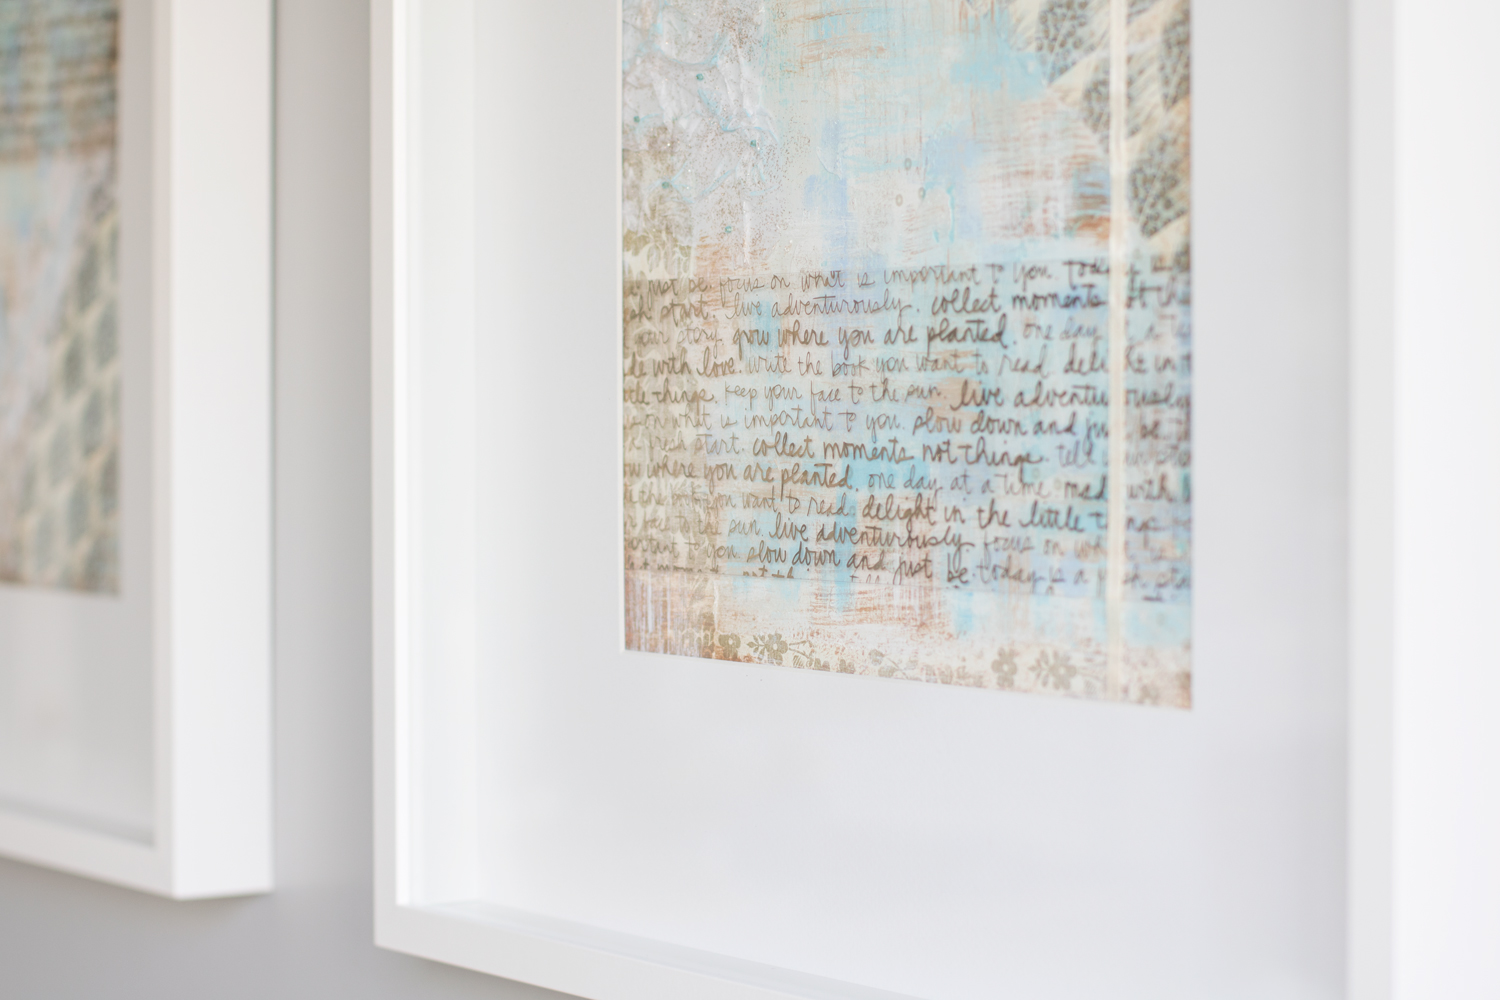
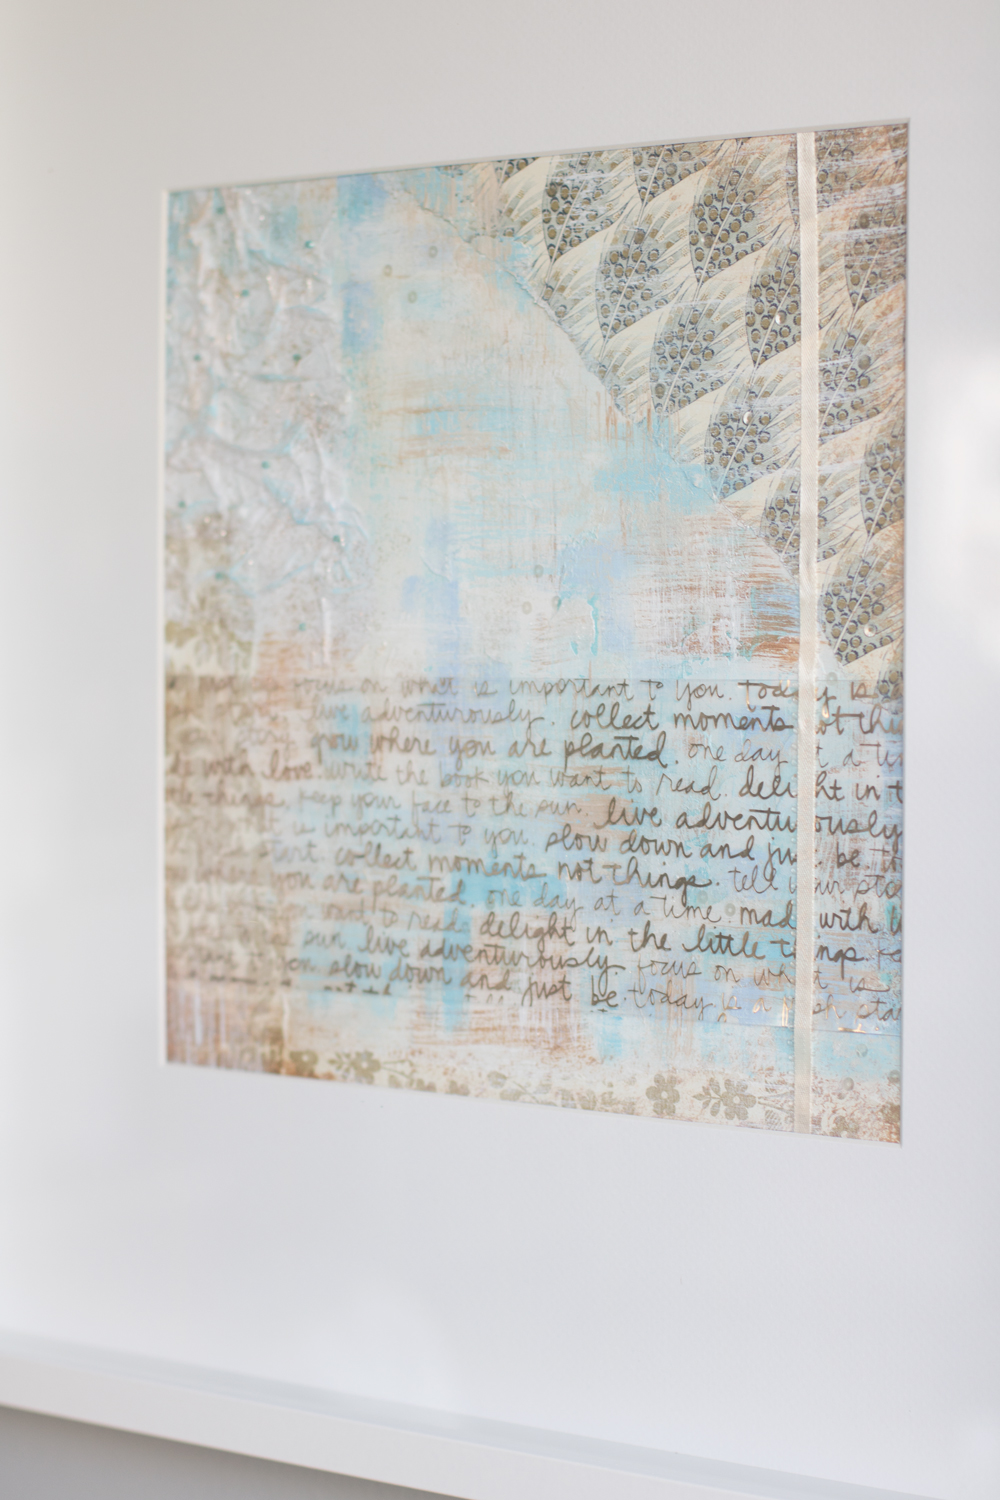
- Scrapbook Paper – Have fun with this, play with patterns, textures, colours. I love how the clear vellum with gold lettering turned out on mine!
- Tissue Paper – Perfect opportunity to recycle some old tissue paper you have lying around!
- Brushes and Palette Knives – I used a mix of regular brushes, small foam brushes, and a standard set of palette knives (for spreading the texture paste).
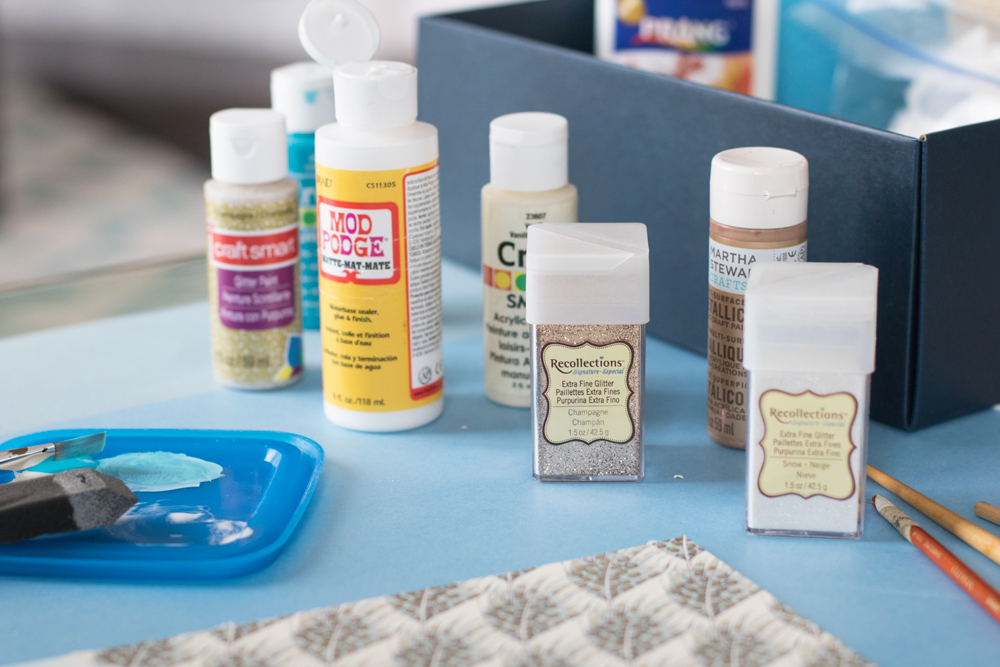
- Acrylic Paints – These can be the inexpensive craft paints, as seen in the photo below. Doesn’t need to be anything fancy!
- Texture Paste – You can find this in the painting aisle of any art/craft store.
- Mod Podge or White Glue
- Glitter, Sequins, Ribbon – Get creative!
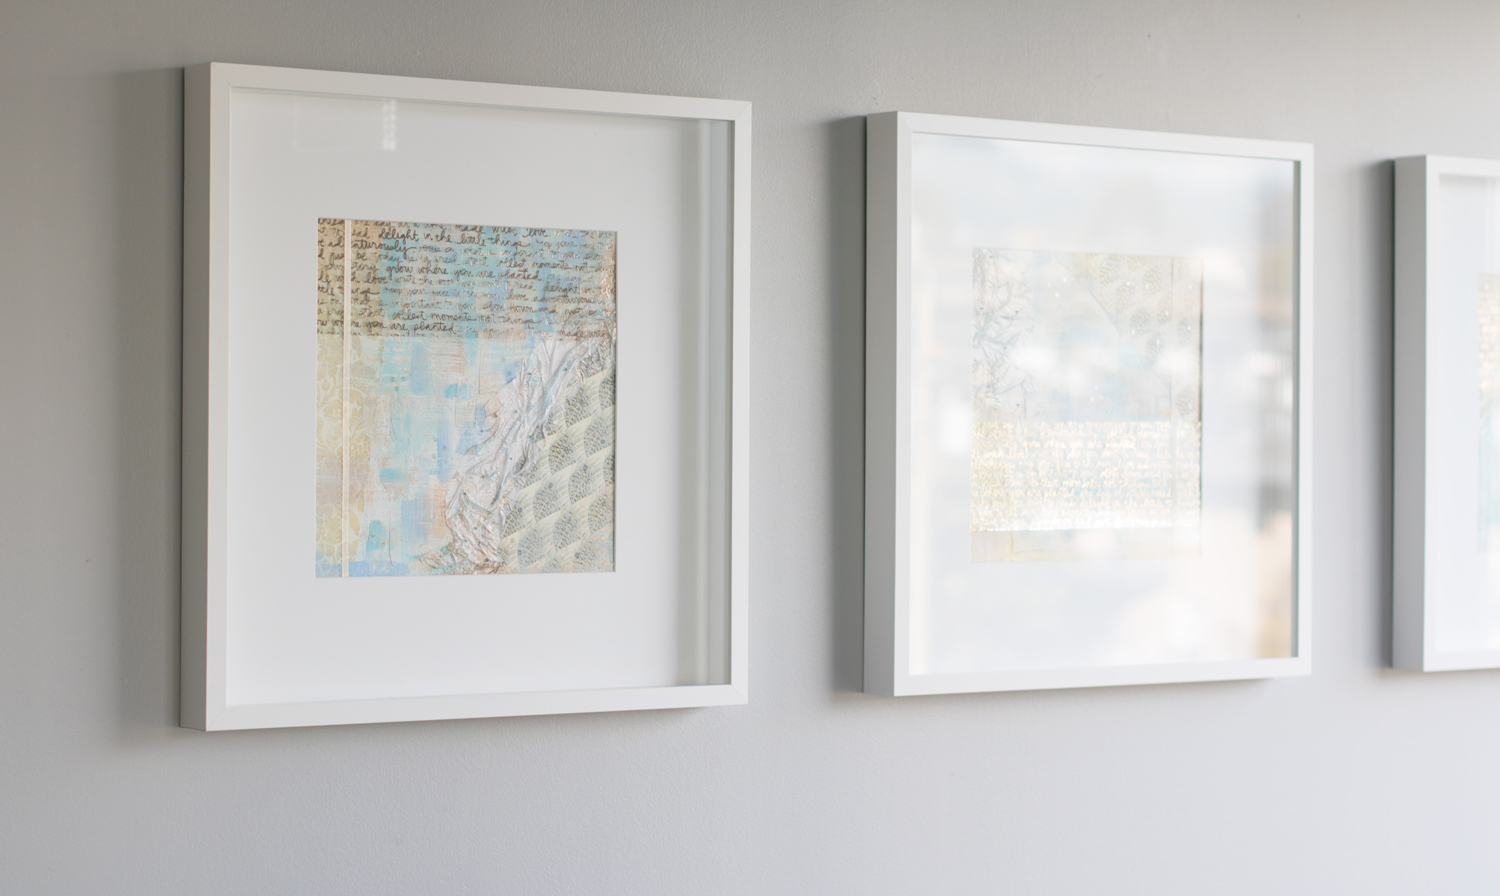
- Frames – I bought mine at Ikea for $20/each, here are a few similar ones: Ikea white square frame, Ikea black shadowbox frame.
How to Create Your Artwork:
1. Do the Prep-Work
First things first, you want to establish your colour-scheme. I stuck with blues and golds so that the artwork would tie into the other accents in my space. I also knew I wanted to create three pieces – all similar but not identical. So I kept that in mind while imagining what they would look like.
Next, get together everything you want to use for your project. Double-check the size your artwork needs to be to fit your frame, and cut your paper slightly larger. I like to have an extra 1/2″ around all sides so that the matte in the frame overlaps the art a little. You don’t want to finish your artwork only to find out you made it to small – hah!
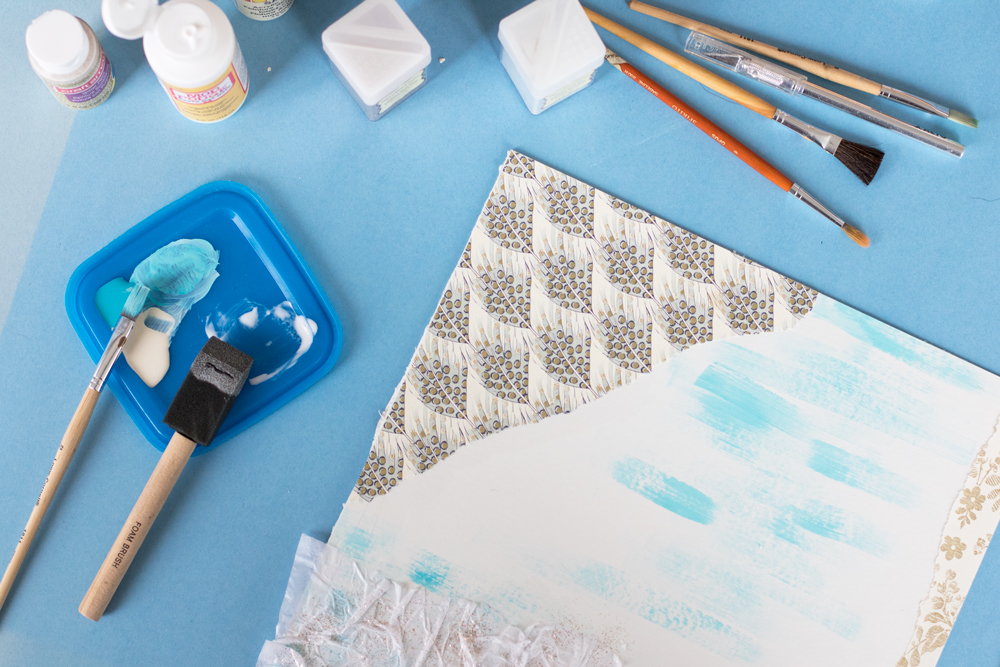
2. Begin Creating your Background and Adding Texture
I really want to emphasize thinking in layers when you’re creating your artwork – you want to build layers little by little to add visual interest and texture. This goes for all the steps that follow!
In the photos above, you can see what my artwork looked like right at the beginning, when they only had a few pieces of scrapbook paper and tissue paper. You can rip or crinkle your paper, and use mod podge/glue to adhere the paper and solidify the texture. Spread your texture paste (for this I used a palette knife) across the background. I kept the palette knife pretty flat to the paper to create a subtle effect, but you can scrape, swirl, push the paste around however you like!
3. Start Painting
Now that you’ve created a textured and interesting background, it’s time to add some colour. You can practice on a scrap sheet of paper to see what kind of paint strokes would work well. You can go heavier, with more solid colour, or keep it lighter and whispier like I did. I painted in multiple steps, letting the paint dry and seeing where I wanted to add more color or possibly tone things down. You can also play around with glitter paint – the possibilities are endless! 😉
4. Add the Bedazzling
Have fun with your DIY artwork! Here’s where you get to add a little sparkle and those extra details. You can use the mod podge/glue to sprinkle glitter, add sequins, and/or add ribbon. If you look closely, you can see that I did all three! I kept it subtle though and in the same colour-scheme so not to overwhelm the pieces.
5. Marvel at Your Masterpiece!
Ta-da!! Now it’s time to enjoy the beautiful piece of DIY artwork that you created! The final step is to frame your artwork and hang it up for everyone to see!
I hope you have a blast creating your own DIY artwork! And as always, I love to see your creations, so be sure to tag me on Instagram (@danielle.a.connor) when you share it!
And if you’re looking for another home decor DIY project – check out these tissue paper candle holders I made a while back! You may notice I’m clearly a fan of glitter… haha I just love a good sparkle!
The main thing I love about DIY artwork is that you honestly can’t screw it up! Work slowly, build layer upon layer, and most of all – have fun! It’s lovely having your own piece of artwork hanging in your home, and it makes for a great conversation starter!
XO
Danielle