
Since as long as I can remember, I have loved baking and cake decorating! It all started with an Easy Bake oven, baking multi-layered cakes and frosting from those little packages. I still remember wanting that Easy Bake oven so bad, and my mom finding one at Value Village – haha I was beyond excited! Today, that Easy Bake oven is now a real oven, and my miniature cakes are full-sized! 😉
Full disclosure – by no means am I a professional baker, but I have become the go-to cake baker for parties and celebrations in my family! So whenever there is a birthday, holiday, or event – I get to make a cake! I love playing around with different combinations and trying new recipes, and of course I have my classic cakes that are always a huge hit. (Have you checked out my Red Velvet Cheesecake that I make every year at Christmas?) So with all these cakes over the years, I’ve tried quite a few different decorating techniques, and found some tried and true tips for a simple yet delicious and beautiful cake!
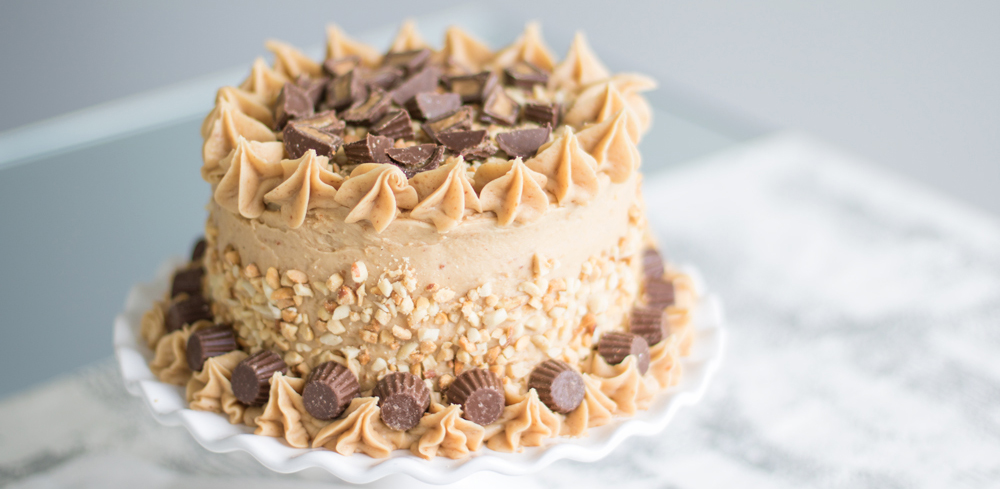
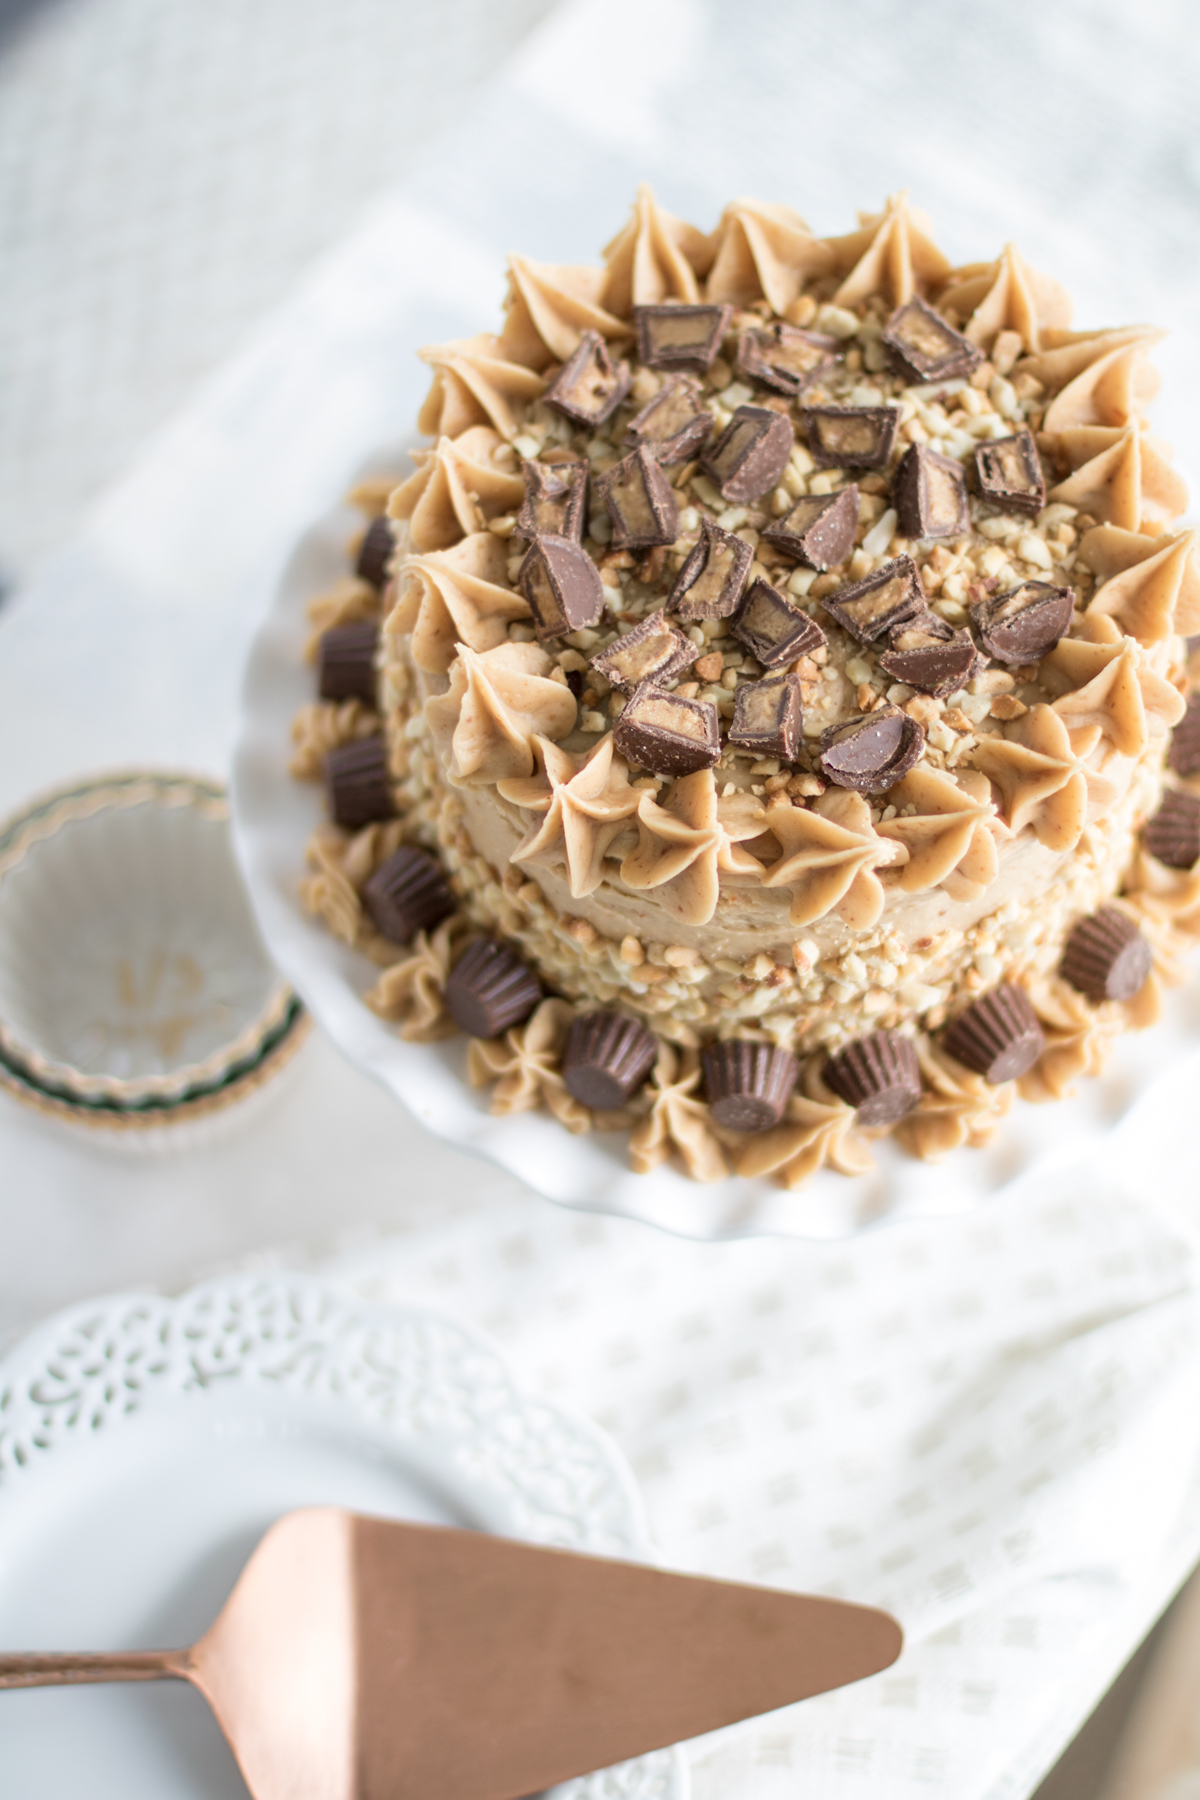
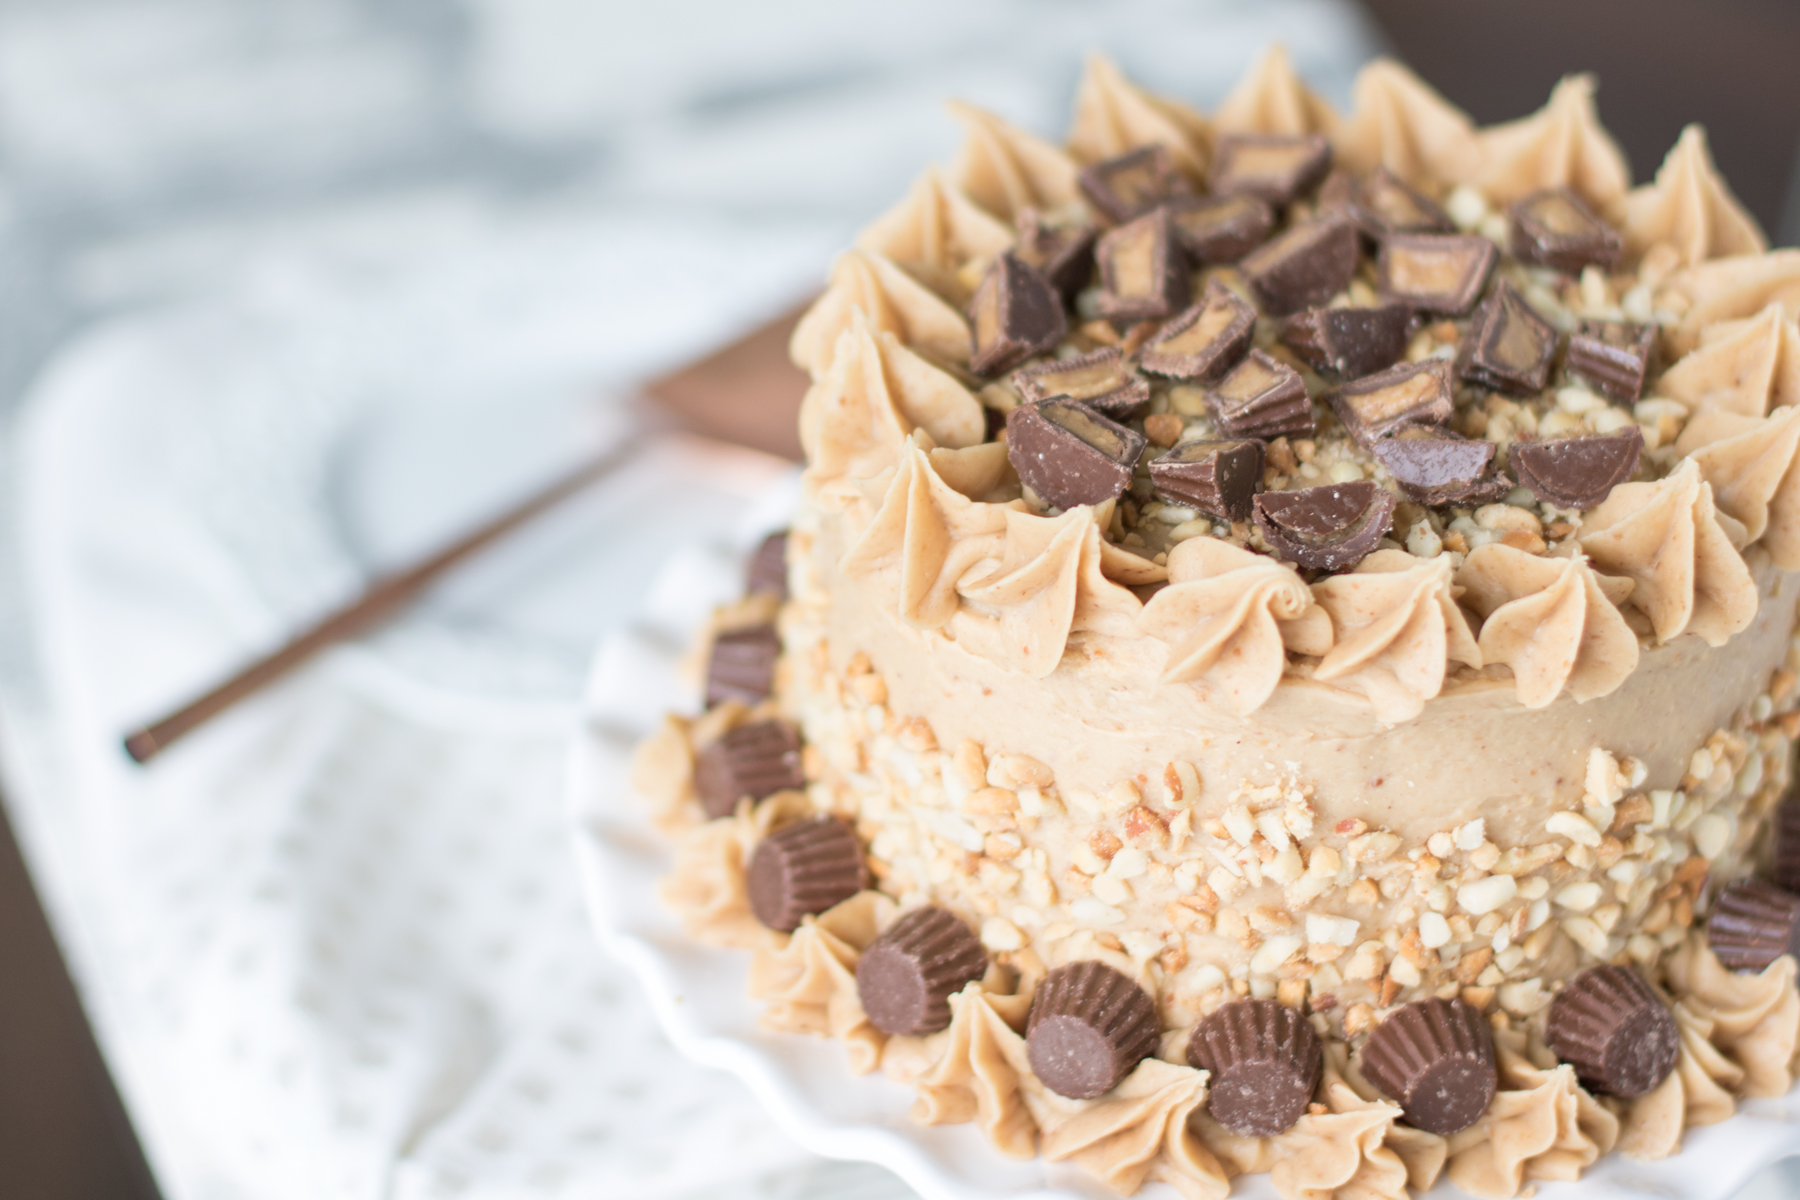
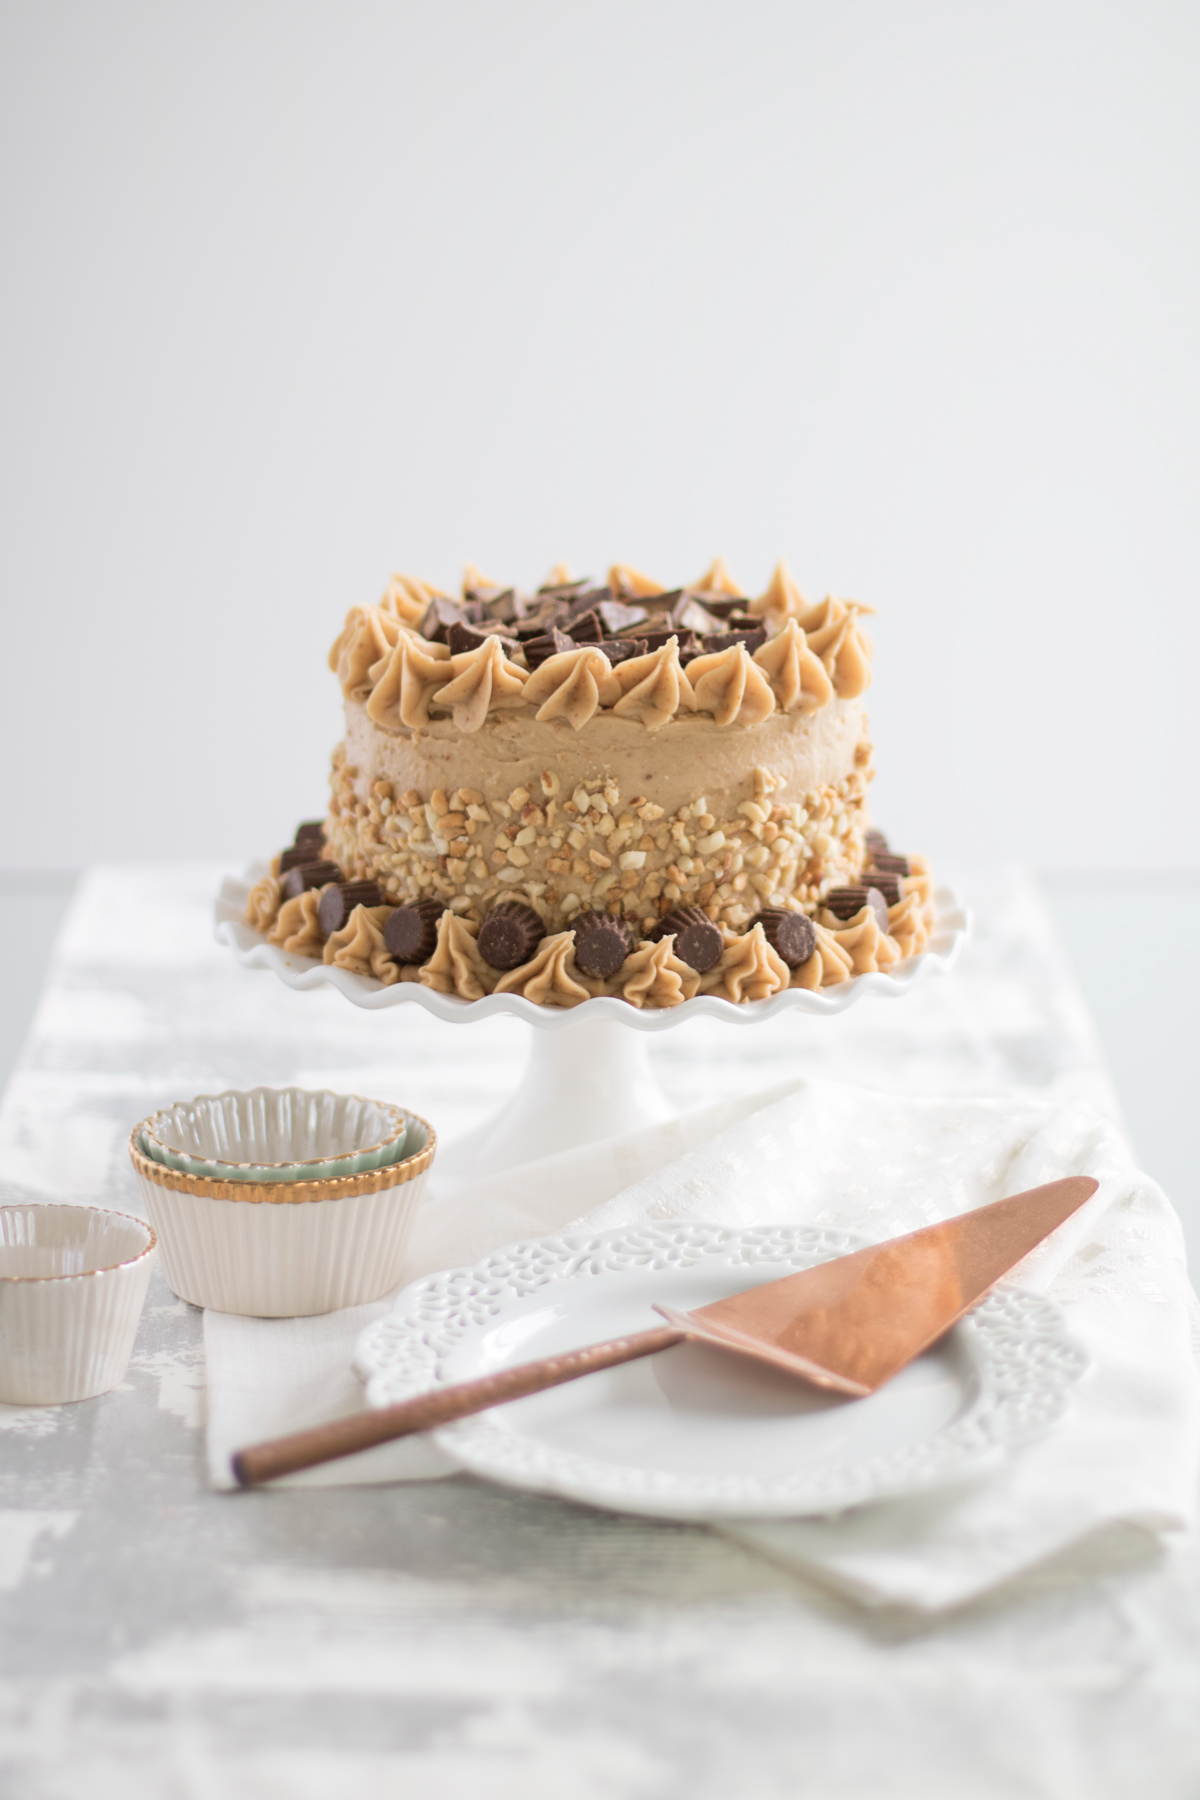
This peanut butter chocolate cake was for my mom’s birthday this year, and it turned out amazing! The recipe is from Butter Baking’s cook book, and I combined the chocolate cake recipe and peanut butter butter cream. Let me reiterate – it was SO GOOD! Sweet and decadent, and I could have happily eaten the whole cake (although been pretty sick!) in one sitting!
So here are my top eight tips for fool-proof cake decorating and baking! 😀 Enjoy!
1. Halve a standard 9” cake recipe
Whenever I have made 9” cakes, I have a ridiculous amount of leftovers. Unless you’re cooking for a LARGE group of people, a 6” cake is plenty. I have started to make 6” cakes all the time now. For example, this cake fed 8 people and we still had half the cake left! So into the freezer it went for another family dinner! 😉 It’s super easy to make a 6” cake if the recipe you have is for a standard 9” cake – just halve the quantities! Another good tip is to write down the new quantities next to the old ones or on another sheet of paper. I’ve halved everything correctly before only to put double one ingredient because I just wasn’t paying attention. So don’t let that happen to you!
2. Cut your layers in half
This is a great tip that takes your cake to the next level! Either using a bread knife (which I did for years!) or a special cake-cutter (I have this Wilton cake leveler), slice your layers in half. This way, you’ll have more, thinner layers – which look so good when you cut into the cake, and allow for more frosting! 😉
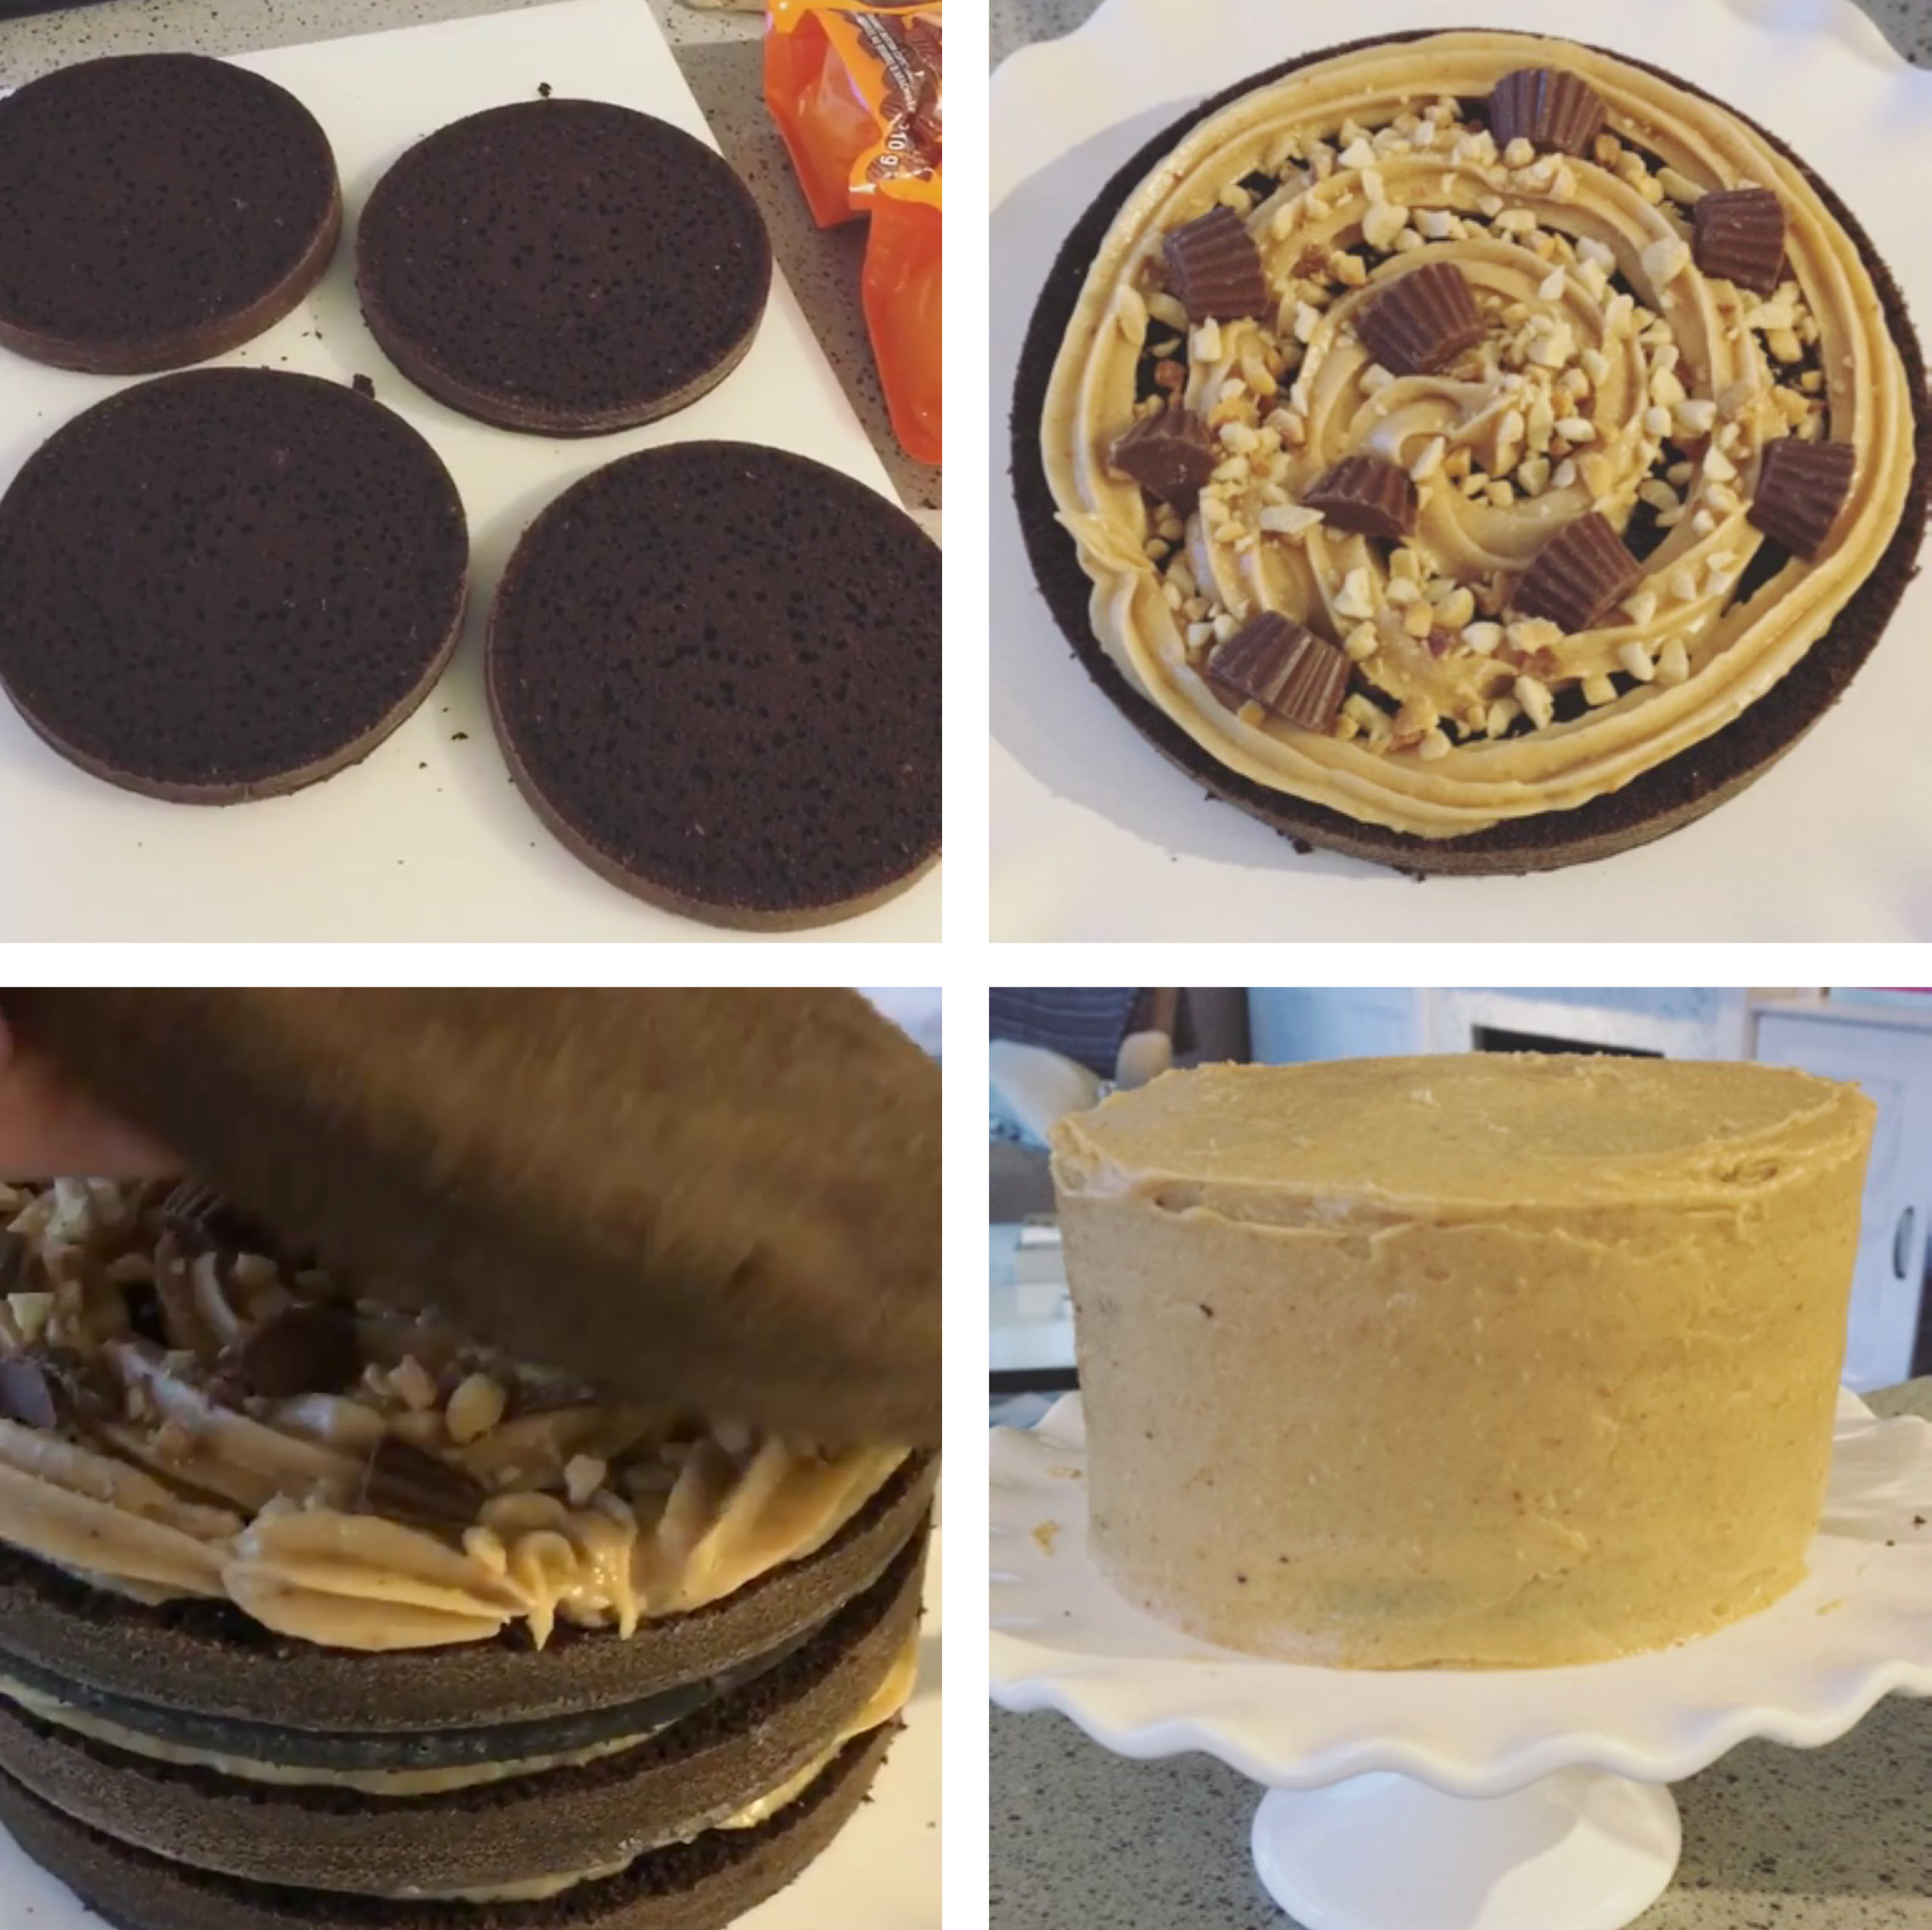 A few snaps from my Instagram story while I was baking the cake!
3. Pipe frosting between your layers
Using a piping bag makes it so much easier to add frosting to your sliced cake layers! Shmearing or slathering it on just gets messy and won’t give you as even of a layer. I use a disposable, plastic piping bag and a big piping tip (1M for those interested!) and just pipe away in a spiral. You can see an example of how it looks in the top-right photo above!
4. Add a little crunch
This tip is totally optional, and depends on what kind of cake you’re making! If the cake recipe works well with something extra, add it on top of your frosting in between the cake layers. With this cake, I cut up peanut butter cups and added peanuts in between each of the layers. It was a fun way to add that extra surprise when you cut into the cake!
5. Do a crumb coat
Relax, it’s not hard! You’re basically doing a very thin layer of frosting to “set” the cake, and be sure that no crumbs get stuck on the outside of your cake! The last thing you want it a beautiful white cake with specs of chocolate crumbs throughout the frosting. Check out the bottom-right of my Instagram story snaps above for what the crumb-coated cake looked like. Lastly, I used a big metal icing spatula to frost my cake.
6. Use a hot, wet icing spatula
After your crumb coat, do another final layer of frosting. To get those smooth sides around the cake, I like to run my spatula under hot water to clean it, and then I smooth it along the top and outside of the cake. If the spatula starts to get sticky or covered in frosting, repeat the process! I find this helps to smooth out the frosting and give your cake a more polished look. Keep in mind though that this will be easier or harder depending on the type of frosting. As you can see, mine’s not perfect! But it did help smooth out the outside.
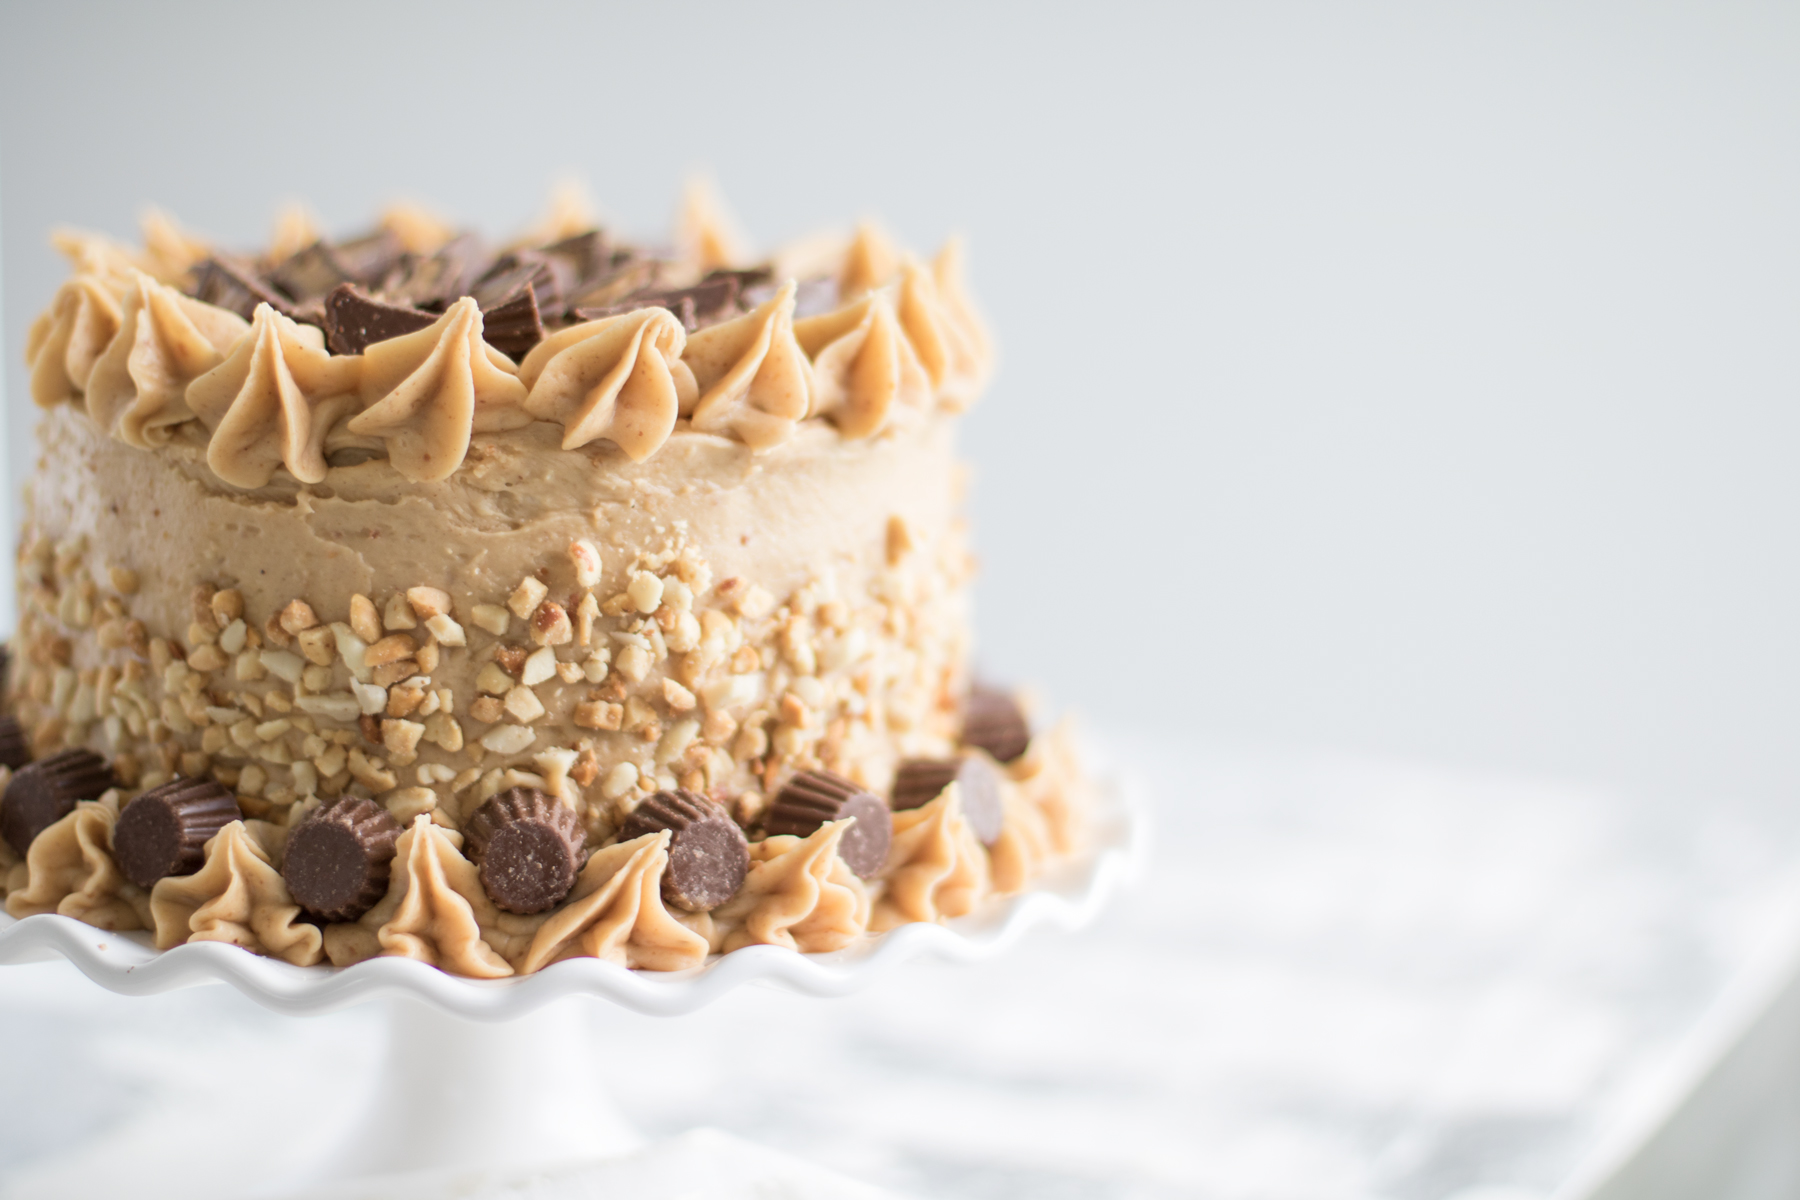
7. Pipe stars around the cake
You can’t go wrong with piping stars, trust me! Even if they don’t all look the same (mine don’t!), once the cake is all decorated, you can’t even tell. I used the same piping tip (1M) as when I was piping the frosting on my layers, since I’m all about making things simple! Start with more pressure as you pipe the base of the star until it’s the size you want, and then release the pressure and pull up on the piping bag. Voila! A star! I’ve put stars around the edges of the cake like I did here (both along the top and base), or I’ve also covered the entire top of a cake with stars – which looked very cute as well!
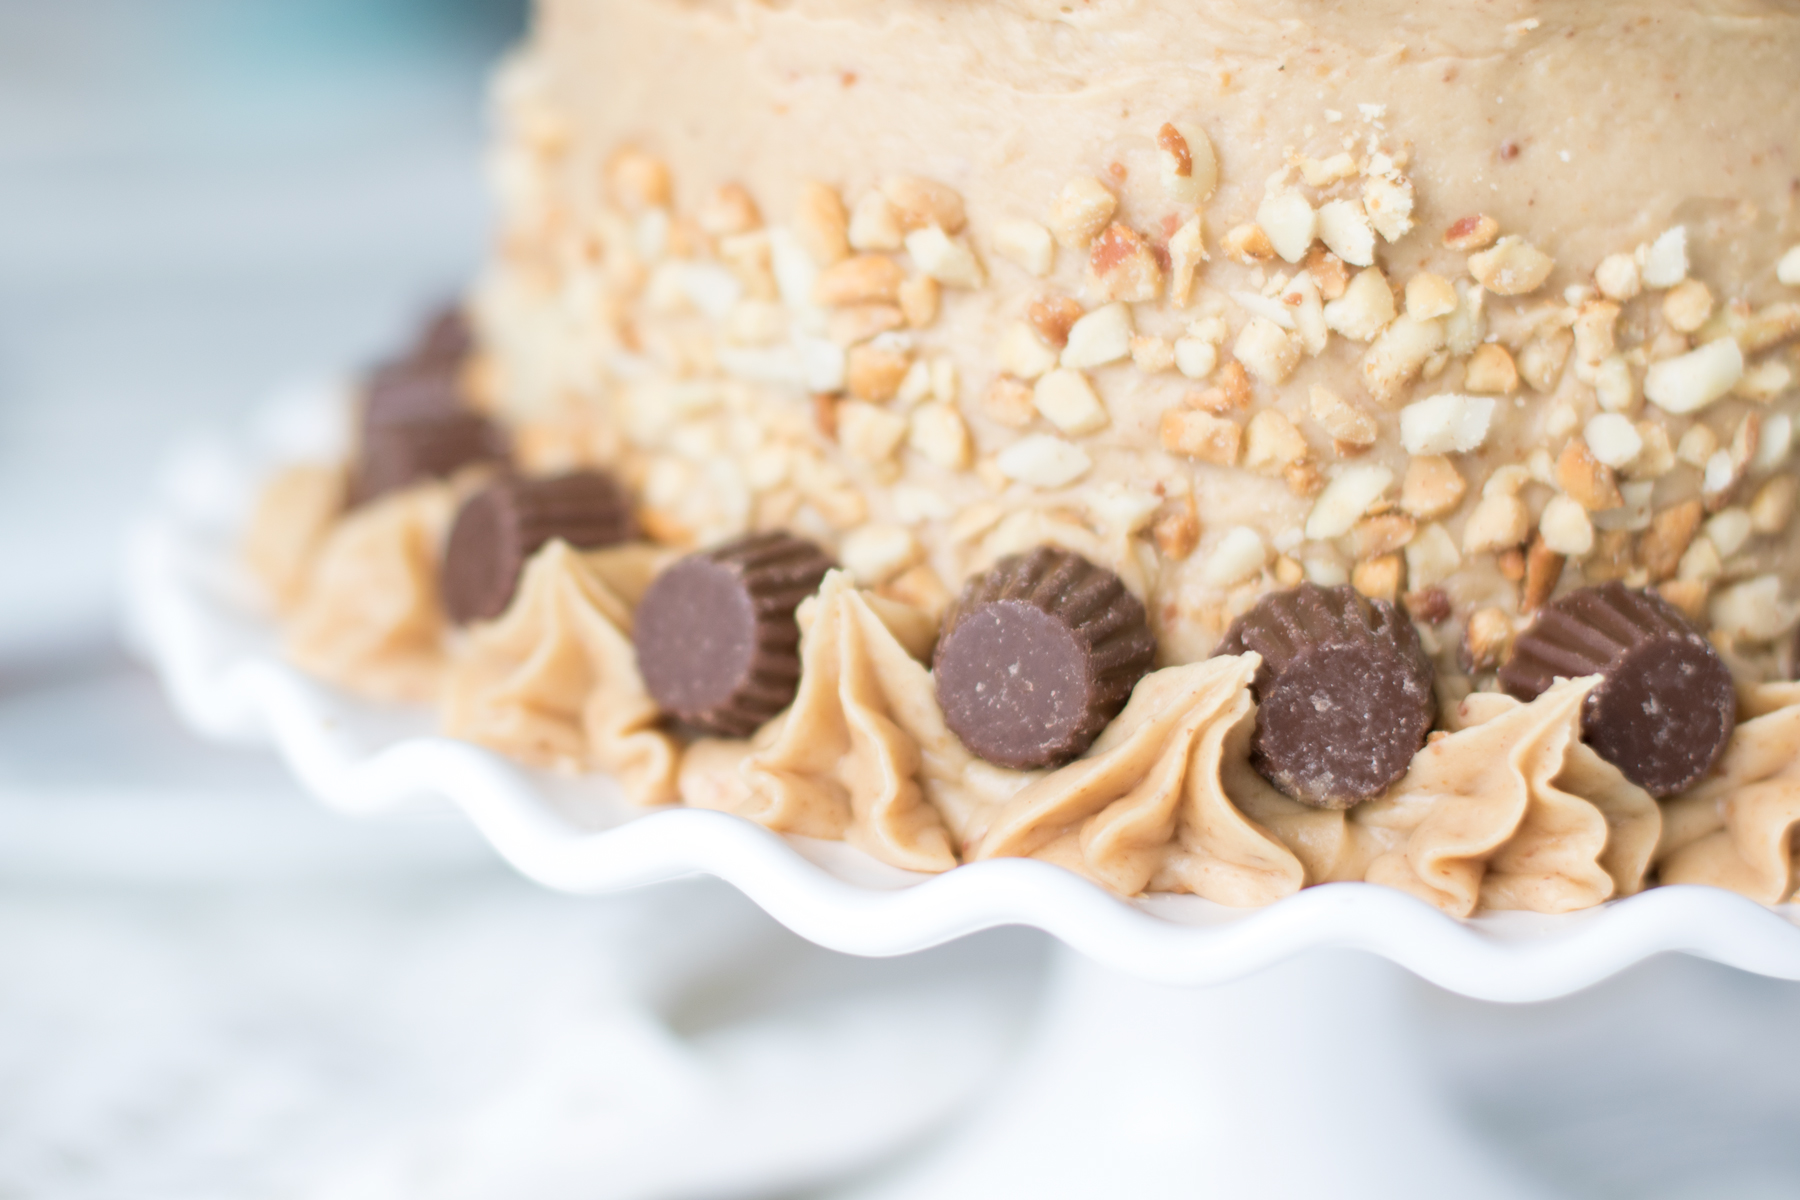
8. Decorate away
This is one of my favourite parts! Depending on the kind of cake I’m baking, I’ll use sprinkles, candy, nuts, or anything else I can think of! For this peanut butter chocolate cake I used peanut butter cups and chopped peanuts. Then for my red velvet cake, I used candy melts to pipe out trees (check out that tip over on the recipe blog post), and then put silver leaf and sprinkles all over! You really can’t go wrong with this one, so get creative!
And the most important tip of all… HAVE FUN! 😀 And don’t take yourself too seriously! Cakes are meant for festivities, to bring happiness and joy to a group of people! So don’t worry if it’s not “perfect” – it’s not meant to be! Your cake is meant to have personality and look like you spend time making this special cake!
I hope those tips are helpful next time you’re making a cake for a celebration! Do you have any go-to tips for cake decorating or baking? I’d love to hear them! 🙂
XO
Danielle