

Can anyone else believe that May is almost behind us?! How crazy is that?? This first half of the year has just flown by, so I’m really looking forward to slowing things down this summer and enjoying each and every day! This was an exciting week for us, because it was Guido’s birthday! I loveeee special occasions, especially birthdays, and accompanied by handmade cards! Birthday celebrations are always such good fun! 🙂
I have always made handmade cards for holidays and special occasions, ever since I was a little girl – it’s just so fun and special! I would take out all my card stock, stickers, glitter, and my dad’s trusty paper cutter and get card making! It’s been tough these last few years with university and work to find time to make handmade cards for everyone in my life, but I’ve been doing my best. It doesn’t take long to make beautiful, simple cards that show your loved ones how much you care, and they make amazing keepsakes!
My card-making always starts out with rifling through my craft drawers to see what stickers and papers I have left over from previous projects. From there, if I don’t have anything that suits my specific card – it’s off to Michaels! A trip down the sticker and scrapbook aisles and we’re golden!
Making Your Cards
To make any card, we need the following:
- Paper
- Glue (Scrapbook adhesive rollers work the best!)
- Pens, Markers
- Stickers (Optional – although not really on any of my cards!)
- Ribbon (Optional)
- Glitter or glitter glue (Optional)
- Paper cutter (I highly recommend one!)
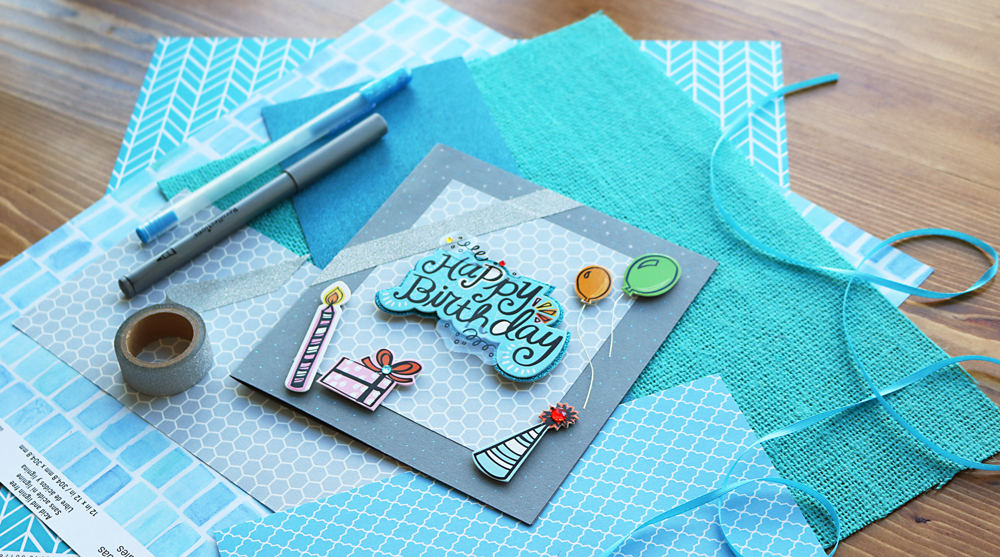
First things first, I like to lay out all my materials and see what I have to work with. Usually my card is made up of three components:
- Card base: the folded paper that will form the body of your card
- Accent papers: an overlay on the cover to add some dimension
- Final touches: stickers, ribbon, glitter, dots, you name it!
After you have a general idea of what you would like your card to look like, cut your base paper to size (e.g. 10″ x 5″ for a final card that is 5″ by 5″). I hardly ever put my cards in envelopes, so the sky is really the limit!

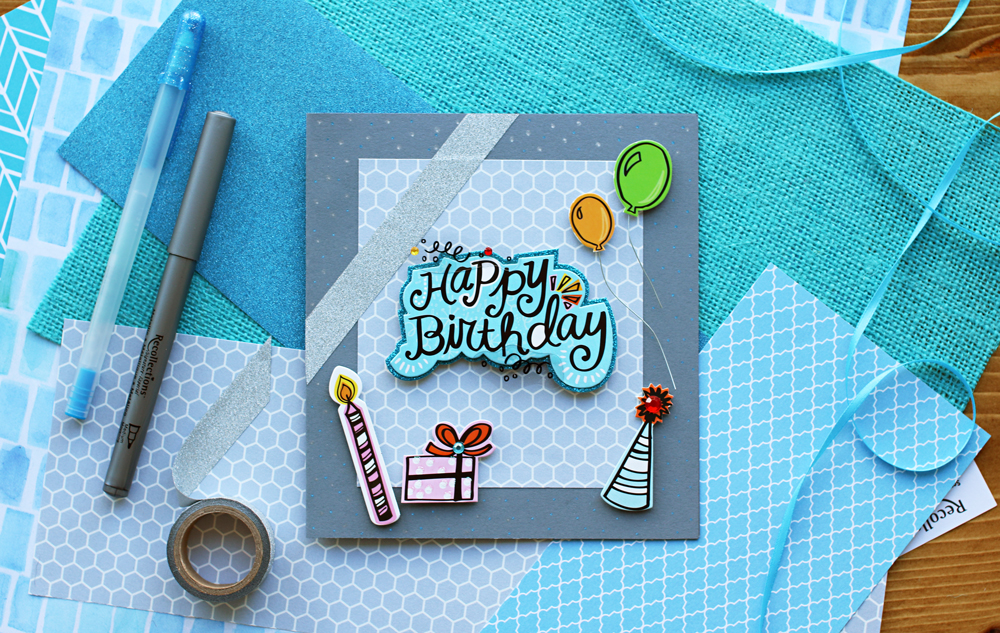
Next, fold your base paper in half to form your card. From here, if you want to use an accent paper, decide what size you would like to make it – a horizontal band, vertical stripe, or square centred on the card (like this birthday card in the photos). Trim your accent paper to size on the paper cutter and place the adhesive on your accent paper – it’s easier than putting the adhesive on the base of the card. Glue your accent paper onto your card base.
Now comes the fun part, take your stickers and place them however you’d like! Go crazy!! If you have a message sticker, I usually place that one first in the middle. Then place your smaller accent stickers around the edges of the card. You can also use glitter glue in tons of fun ways like along the edges of your accent paper, or in little polka dots around the card. You can have SO much fun with this! 🙂
And that’s it – how to make your own handmade cards! Easy peasy! Hope you all have loads of fun making cards for those special people in your life! 🙂 Be sure to share and tag your creations @danielle.a.connor, I’d love to see them!
XO
Danielle